Workpace Setting
With User Invite & Role Management, organizations can safely and efficiently manage team collaboration on the Workspace Builder platform.
This feature allows admins to invite users, assign specific roles, and control access to forms and projects. Admins also have the ability to delete invited users when needed.
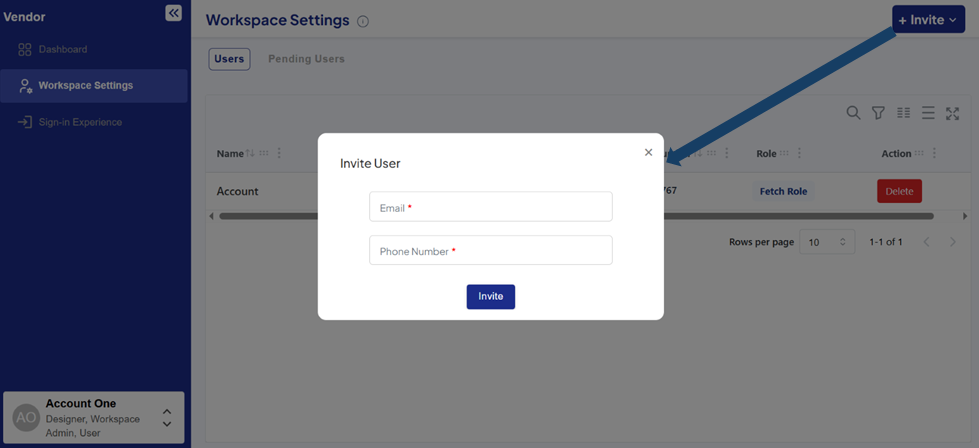
Invite the user using their email ID. If the user is new, they must create a new account and verify their email ID to link the account to Workspace Builder. Only after completing these steps will the user be able to access the available features.
Workspace Invitation and Role Management
-
Secure User Invitation: Admins can send invitations via email to team members, allowing them to join the organization on the platform securely.
-
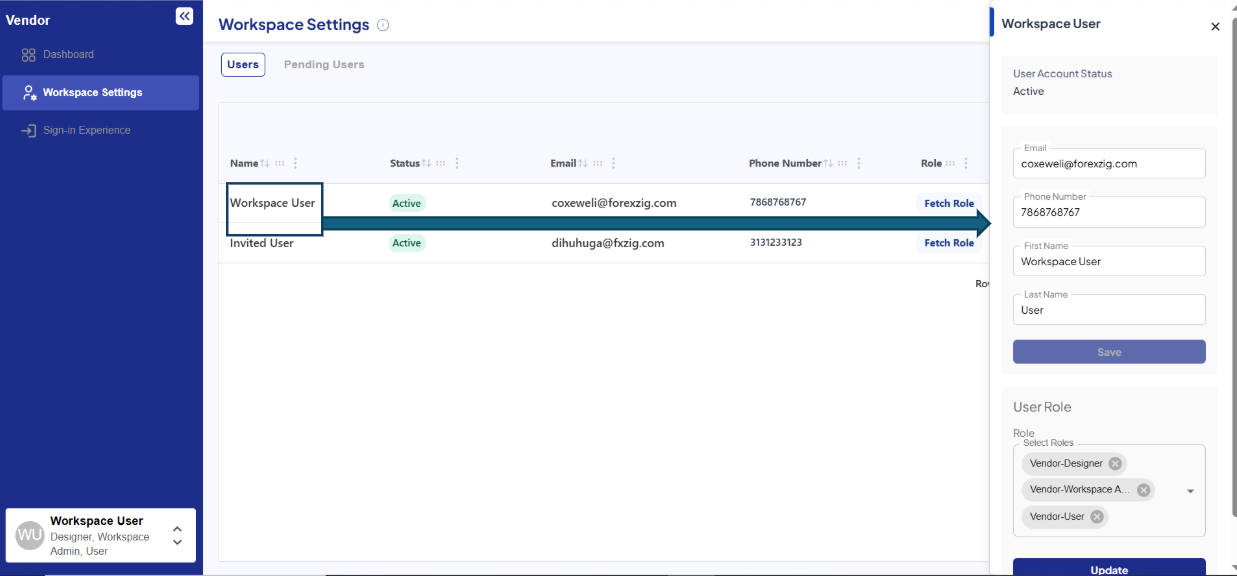
Role Assignment: Click on the name of an invited user side bar will open, Each user can be assigned a specific role (e.g., Admin, Designer, User) that defines their permissions to view, design, or manage different parts of the workspace.
-
User – Can view and use the applications but cannot make any design or structural changes.
-
Designer – Can create and modify projects, forms, and workflows but doesn’t have full admin control.
-
Admin – Has full access to manage users, settings, and permissions, along with all design capabilities.
-
Project-Specific Access: If an admin invites a user and assigns them the Designer or User role, the admin must also add the user to the specific project. Until the user is invited to that project, they will not be able to see or access it for designing.
-
Real-Time Collaboration: Multiple users can work on the same project simultaneously, with their actions limited according to the roles assigned to them.
-
Access Control: Permissions ensure that only authorized users can make changes to projects or access sensitive data, maintaining security and control.
-
Audit and Transparency: Role management helps maintain accountability by clearly controlling who has access to what within the system.
-
Switching Between Organizations: Users who belong to multiple organizations can easily switch between their organization in login page.
Steps how to switch organization
After admin inviting users to switch organizations, ensure that the invited user logs out if they are currently using Workspace Builder. This step is necessary for the system to update their organization access correctly after the invitation.
- Invite the user in workspace setting
- Log-out if the user is using workspace builder
- login and Enter your E-mail id
- Click on sign in
- Select the organization and login in
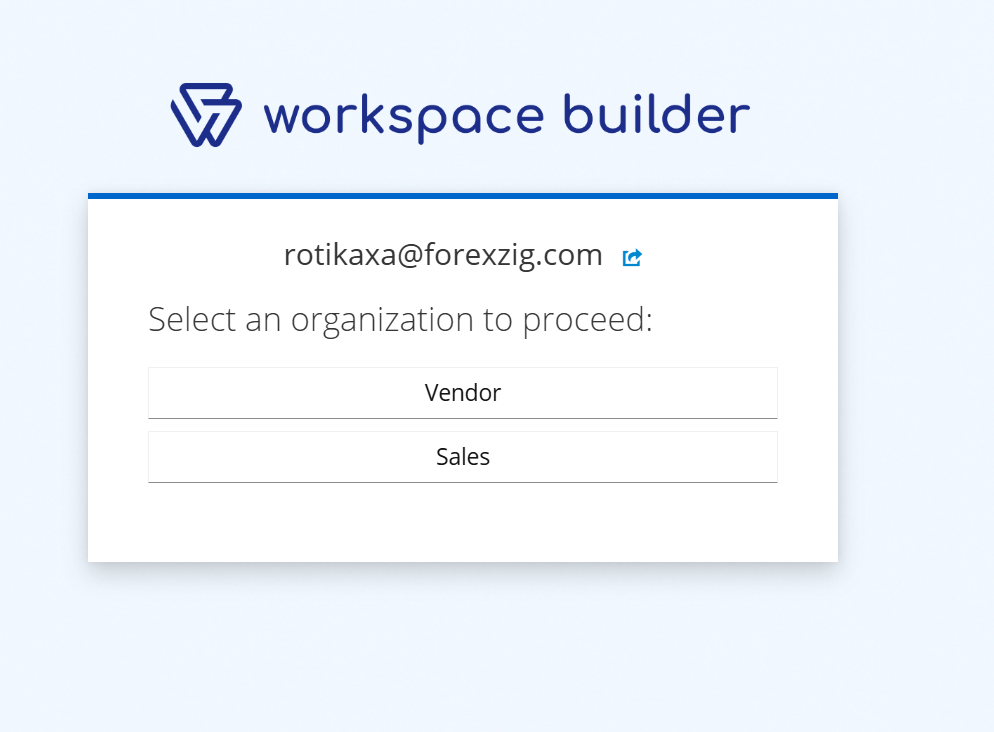
When you invite a user through the Workspace Settings, they will be added in User Mode by default. If you want the user to access a specific project, you must also invite them through the Project Settings. Users who belong to multiple organizations can easily switch between organizations from the login page. Once a user is invited, your organization name will automatically appear on their login page